The benefit of publishing your stories via Meta Business Suite is the scheduling option. In this tutorial, we will see how to schedule or post the Instagram Stories with a link. This is useful if you have a scheduled YouTube video premiere and need your Stories to be released at a specific time to guide your viewers to the premiere page.
We will start from the Home Page of your Meta Business Suite
Note: If you have multiple business portfolios (more than one page), ensure you select the page you need in the drop-down menu

Step 1: Click on the “Create Story” button
This will take you to the Story page

Step 2: Select only the Instagram account from the drop-down menu

You will need to deselect the Facebook Page to publish an Instagram story with a Link, because Facebook and Instagram stories have slightly different workarounds for publishing links in stories. For this reason, we post stories individually. We have another post for scheduling Facebook Stories with a link.

Step 3: Upload the Image you will publish to Facebook Stories
To upload the image, you have two options:
- Click on the “Add photo/video” button and select the image in your folders, or
- Drag and drop the image you would like to post from your open folder to the media box of your story

Step 4: Click on “Edit” after your image is uploaded

Tip: You may have noticed that the “Add link” is inactive (grey). This is because the “Add link” function is for Facebook stories, which allow viewers to swipe up the story to visit the link. Instagram does not support swipe-ups
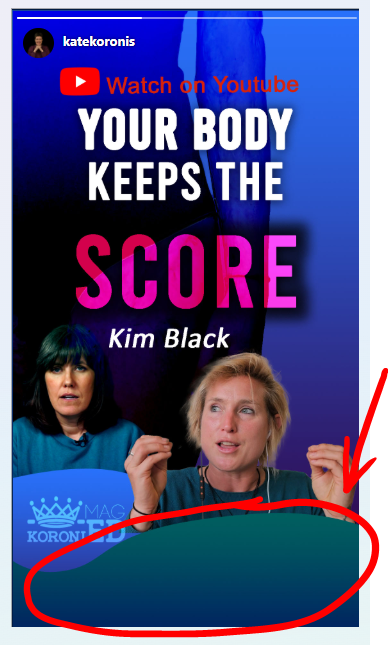
Additionally, since the swipe up is not supported in Instagram like in Facebook stories, our Story Graphic design is slightly different. We don’t have the text “Swipe Up” at the bottom of the image. We can have the CTA (Call to Action) like “Watch on YouTube” or just leave this space blank and reserved for the link to be inserted during the Edit.
Step 5: Go to the stickers section and select the Link sticker

Step 6: Insert the Link and change the link text
After inserting the link, change the text of the link. By default, it will be named “Link”. But your viewers might not notice it or understand what the link is. So it is better to name the link as CTA (Call to Action). Here are a few examples:
- Click here
- Watch here
- Video
- Watch now
I have named it “Watch Video Here” to ensure that everyone will understand that the link will open the video.

Step 7: Reposition the Link sticker before applying it to the Instagram Story
By default, the Link Sticker will be positioned in the middle. In our design,n we did not plan to have the link there; we have prepared the space for the link at the bottom of our graphic.
Tip: It is more convenient for phone users to have links and other action stickers at the bottom so that they can reach them with their thumb. Consider preparing the space for it in your design.
Pull the sticker down as much as possible without leaving any space below it. This editing canvas leaves space by default. See how the final Instagram story with the Link sticker looks in the next screenshot.
Click Apply to save changes.

Step 8: Schedule your Instagram Story with the Link Sticker
Click on the button “Schedule” (1) and choose the time you want your Story to be posted. Click the blue button “Schedule” (3) to complete the task.
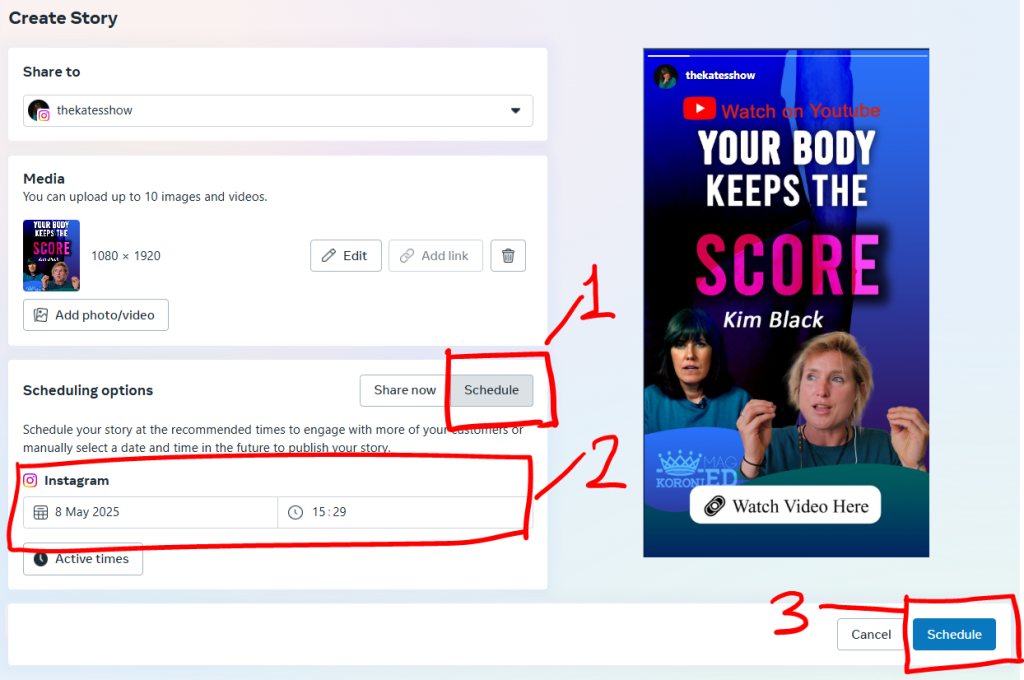
Now your story is scheduled. Below you can see how the scheduled story will be seen In your portfolio’s content calendar.
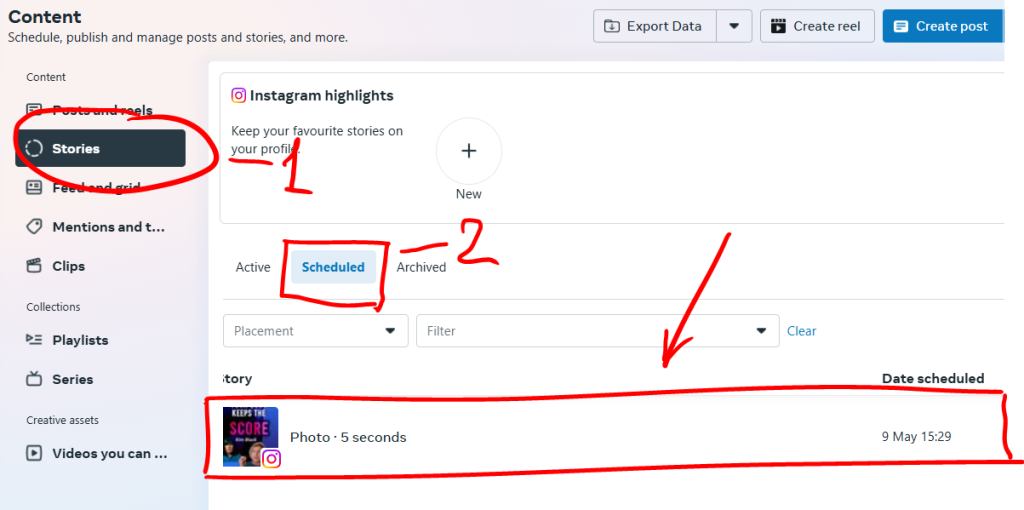
Step 7: Check the stories scheduled day and time in the content calendar
In case you are not sure what date you have scheduled for your Facebook story, you can check the scheduled date in the section Content.
In the Content menu, go to Stories section

The Stories section has 3 tabs: Posted, Scheduled and Archived. Click on Scheduled and see the time you have set
Now your story is scheduled. You can see how the scheduled story will be seen in your portfolio’s content calendar. See the tutorial here:
How to Check and Change the Stories Scheduled Time in Meta
And finally, as mentioned earlier, Facebook and Instagram stories have steps that differ a little bit when it comes to publishing them with the link. That is why here you can find instructions on how to publish a Facebook story with the Swipe up link via Meta (Business Facebook.

